A used potato digger can be the most cost-effective route to mechanised potato harvest, particularly for a farm entering the potato enterprise for the first time or upgrading from a single-row unit to a wider machine without the capital commitment of a new purchase. The used market for potato diggers is active — machines change hands after retirement, farm consolidation, crop changes, or upgrade to a harvester — and a well-maintained used digger in good condition represents genuine value. But the used digger market also has its share of machines that have been sold precisely because their owners know the repair cost approaching and prefer someone else to discover it. The difference between the two is visible in fifteen to twenty minutes of systematic inspection by someone who knows what to look at and what the findings mean.
This guide provides a structured 12-point pre-purchase inspection protocol that covers every component whose failure will cost significant money to repair, interrupt a harvest, or pose a safety risk. Each check includes a specific method, a go threshold, and a no-go or negotiate threshold. Complete every check in sequence before making a purchase decision or discussing price adjustment.
New vs Used — When the Age Trade-off Makes Financial Sense
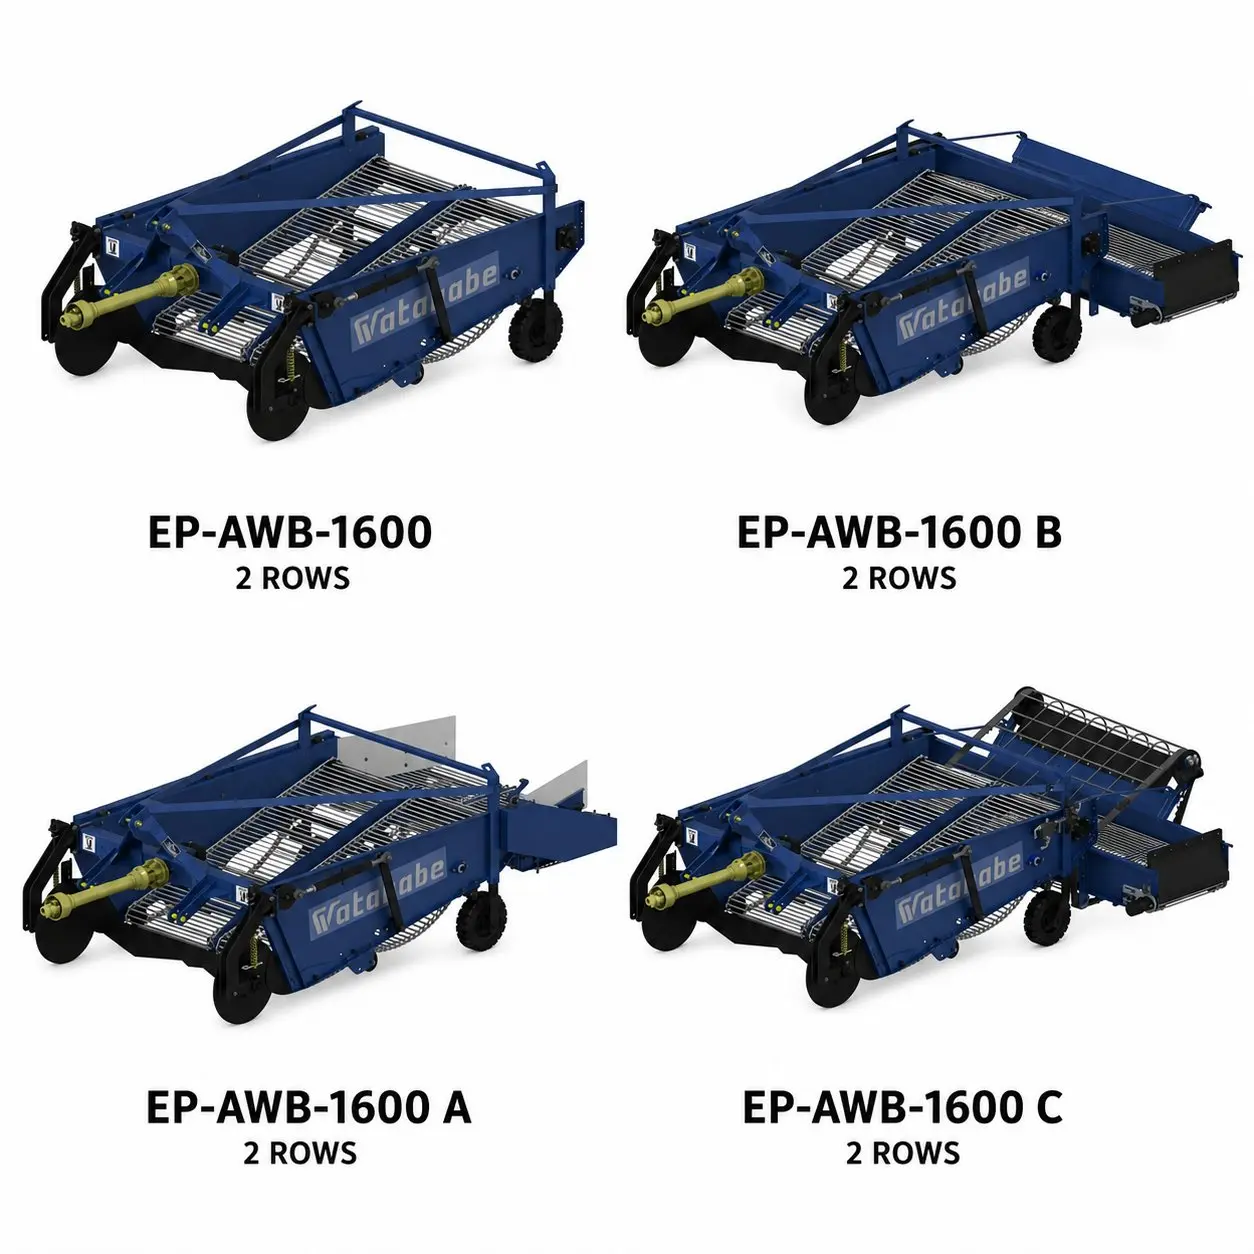
The financial case for a used potato digger rests on one question: does the purchase price saving exceed the additional maintenance and repair costs that will arise in the first three to five seasons, plus the cost of any reliability risk during those seasons? For a single-row mounted digger — where the new price is already relatively modest — the used-versus-new calculation often does not strongly favour used: the price saving is smaller in absolute terms, the uncertainty about the machine’s previous life on stony or heavy-clay ground is real, and a new machine comes with a manufacturer’s warranty and a known wear baseline. For a two-row mounted digger or a trailed machine — where the new price is substantially higher — the price saving from buying a well-maintained three-to-five-year-old used unit can be significant and is more likely to outweigh the additional maintenance uncertainty, provided the inspection confirms genuine good condition.
The inspection protocol that follows should always be completed before any price negotiation. If the inspection reveals components at or near end-of-life, the replacement costs should be calculated and presented as a deduction from the asking price — not accepted as a vague “factor to consider.” A chain replacement, a pair of share tips, and a gearbox oil change are priced items that can be quoted accurately before the deal is made.
The 12-Point Pre-Purchase Inspection — Method and Thresholds
| # | Componente | Inspection Method | Go ✅ | Negotiate ⚠️ | Walk Away ❌ |
|---|---|---|---|---|---|
| 1 | Elevator chain — 12-link measurement | Measure 12 consecutive links with a steel rule at the centre of the chain’s upper run | <615mm | 615–625mm (deduct replacement cost) | >625mm |
| 2 | Elevator rod condition | Run finger along each rod; look for flat wear faces, groove wear from soil abrasion | Circular cross-section | Slight flat but <15% diameter loss | >20% diameter lost on any rod |
| 3 | Share tip condition | Inspect leading edge for roundness; check for cracks at shank weld; measure tip thickness vs new spec | Sharp, no cracks | Worn but no structural cracks (new tip is low cost) | Cracks at shank weld; bent shank |
| 4 | Gearbox oil — level and colour | Remove fill plug; check level at plug; dip finger and examine oil colour/texture | Clear/amber; at level | Dark brown; overdue change (low cost fix) | Black/metallic; low level; visible sealant repair |
| 5 | PTO shaft — universal joints | Grasp each joint and attempt movement in all planes; feel for roughness or clunking | Smooth in all planes; no play | Very slight roughness (early wear; deduct) | Clunking; visible wear on crosses |
| 6 | PTO shaft — slip joint and guard | Slide the slip joint; confirm guard can rotate freely around shaft | Slides freely; guard intact | Stiff slip joint (needs grease); guard cracked | Seized slip joint; no guard |
| 7 | Depth wheel — bearing and rim | Grasp wheel and check radial and axial play; inspect rim for cracks or deep impact damage | No play; rim intact | Minor rim damage; slight bearing play | Significant bearing play; cracked rim |
| 8 | Elevator frame — structural integrity | Walk the full length of both sides; look for cracks, weld repairs, bent sections | No cracks; no repairs | Cosmetic weld repair only; no structural cracks | Cracks in main frame; bent side rails |
| 9 | Separator — star wheels or riddle | Spin each star wheel by hand; check riddle frame rods for bends or breaks | Spin freely; rods intact | 1 seized star wheel (bearing replacement) | Multiple broken rods; frame distortion |
| 10 | Three-point hitch pins and bushes | With machine resting on its depth wheel, grasp and rock the hitch frame; check for play at all pin-and-bush joints | No perceptible play | 1–2 mm play (new bushes, low cost) | >5 mm play; cracked clevis |
| 11 | Shear bolt specification | Check the shear bolt fitted in the drive line; confirm grade and diameter match manufacturer’s specification | Correct grade and diameter | Standard bolt fitted (replace before use) | High-tensile bolt substituted (drive damage risk) |
| 12 | Main frame fasteners and paint | Check all visible bolts for correct tightness; inspect paint for areas of fresh over-spray (possible crack repair disguise) | All present and tight; consistent paint | Missing non-critical fasteners (replace before use) | Fresh paint over structural areas — inspect further |
Chain Wear — How to Measure and What the Numbers Mean
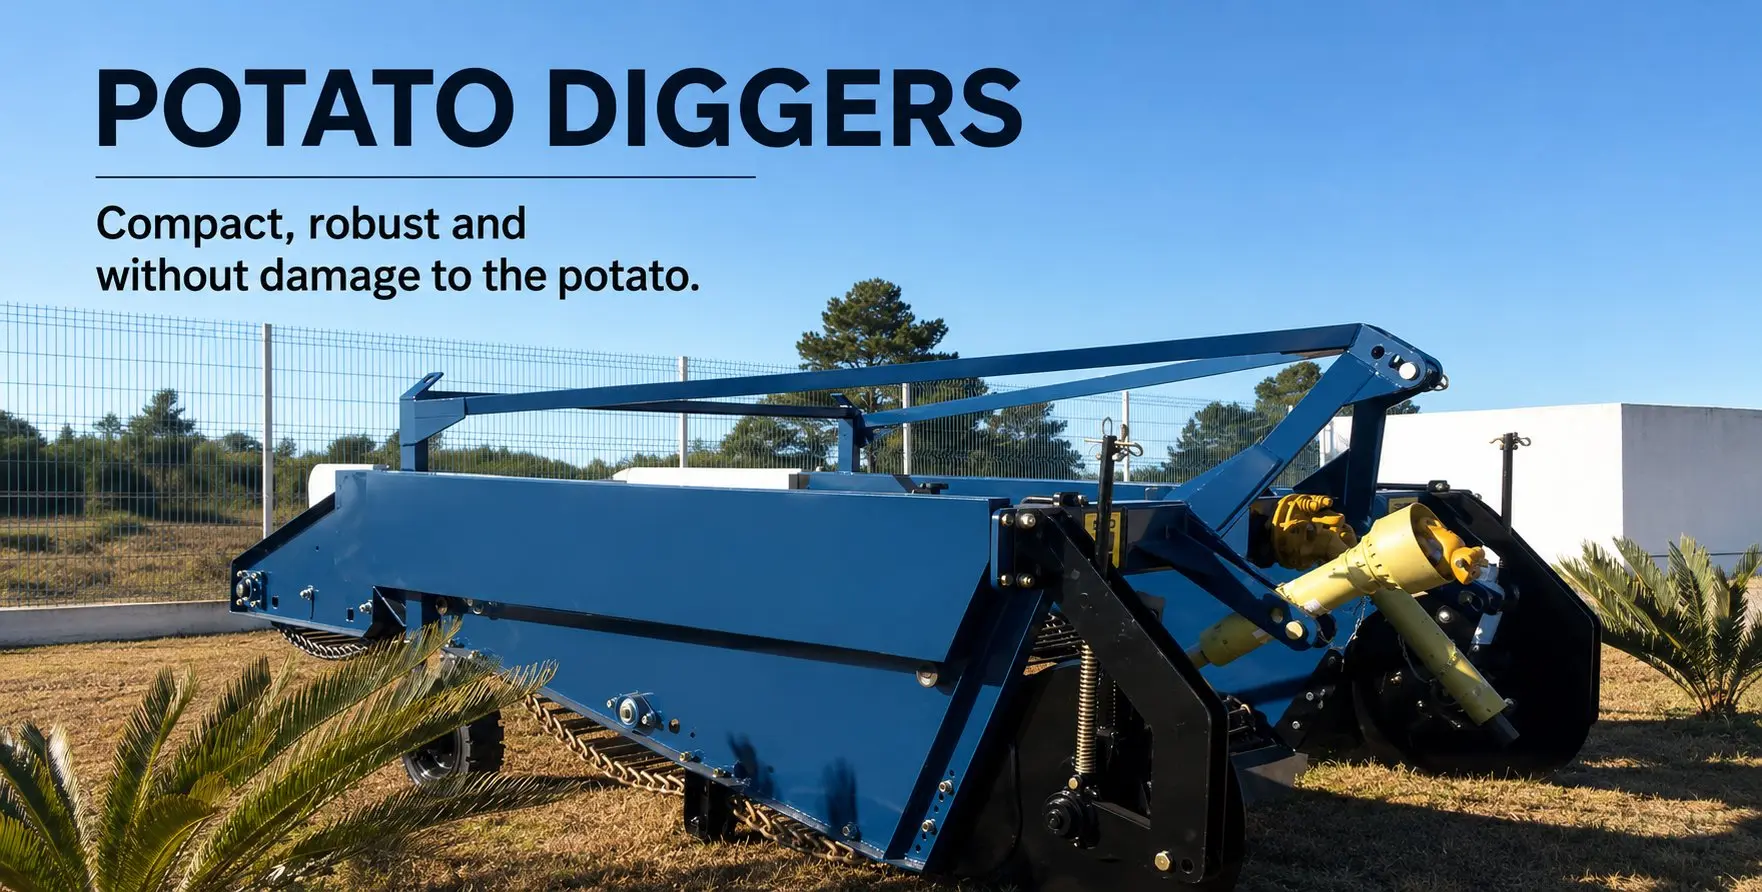
The elevator chain is the single highest-wear component on a potato digger and the most important item in any pre-purchase inspection. Chain wear is measured by elongation — as the link pins and bushes wear, the effective pitch of each link increases slightly, and the chain as a whole becomes longer than its manufactured length. This elongation changes how the chain meshes with the drive sprocket: a worn chain rides high on the sprocket teeth, eventually skipping under load and causing unpredictable drive failures in the field.
The 12-link measurement method is the accepted field standard for chain wear assessment. Count out 12 consecutive links along the elevator chain’s upper run. Using a stiff steel rule (not a flexible tape), measure from the centre of the first link’s pin to the centre of the 13th link’s pin — this spans exactly 12 link pitches. For the most common potato digger elevator chain (2-inch pitch, 50.8mm per link):
Note: measure at a point mid-span on the chain’s upper run where tension is zero. Do not measure at the drive end (under tension) or the return run. Take measurements at 3 points across the chain width on two-row machines; average and record the highest reading.
Gearbox and PTO Shaft — The Components That Cost Most to Fix
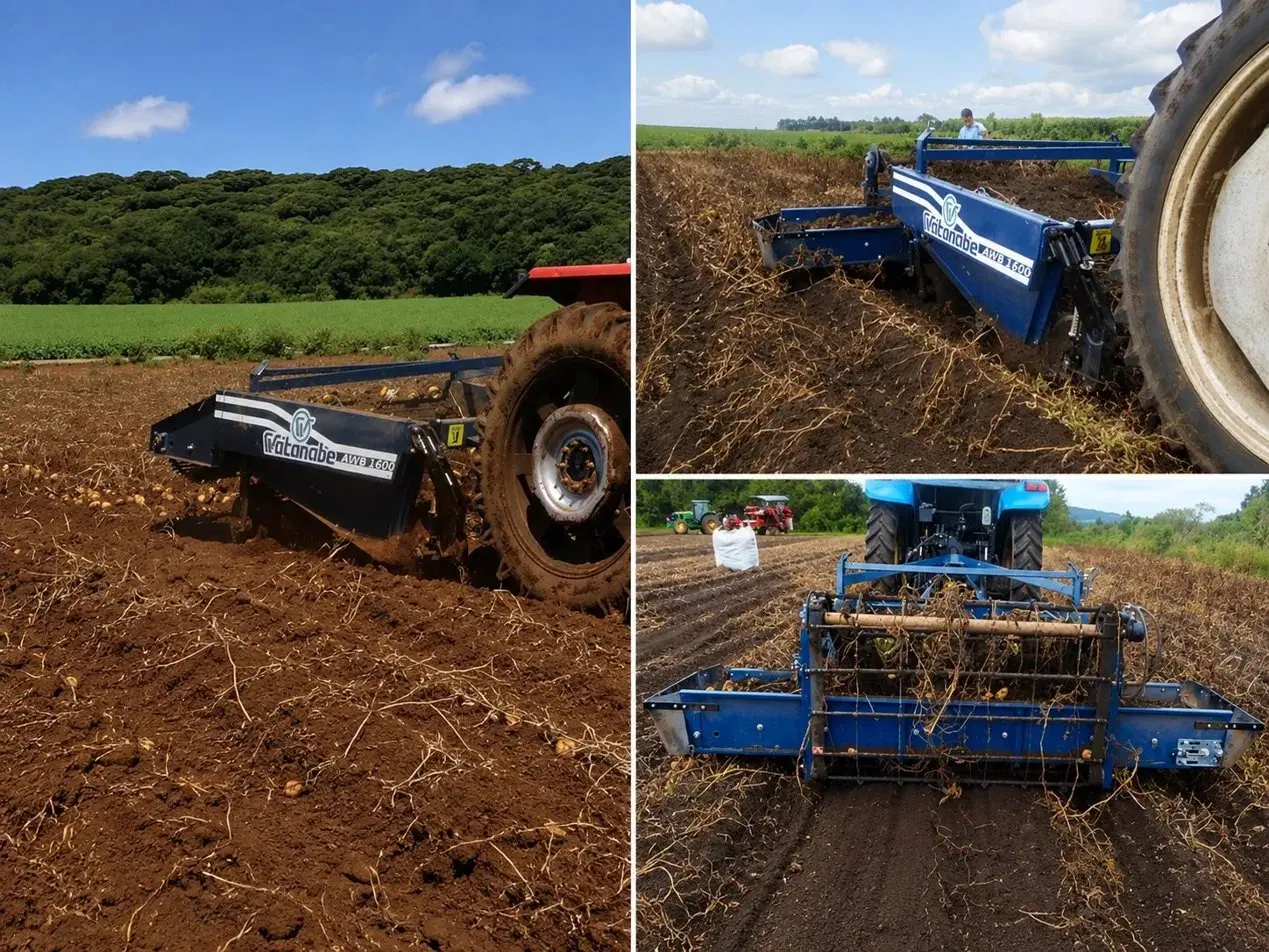
Gearbox problems and PTO shaft failures are the two repairs most likely to write off a used digger’s entire purchase price advantage. A gearbox rebuild or replacement on a trailed multi-row digger can cost as much as 30–50% of a comparable new machine’s price; a PTO shaft replacement is less dramatic but still a significant cost that compounds the purchase price. Both components can be assessed during a pre-purchase inspection with techniques that require no specialist tools.
Gearbox oil assessment: Remove the gearbox fill plug (or dipstick, if fitted) and check the oil level — it should be at the full mark. Dip a clean finger into the oil and draw a small amount on a white cloth or paper. New or properly maintained gear oil is clear to pale amber. Dark brown oil indicates overheated oil or very overdue change — the oil chemistry has broken down, providing reduced lubrication, but the gearbox may still be serviceable after an oil change and careful inspection. Black oil with metallic particles visible in the cloth sample is a serious warning: it indicates internal component breakdown and metal wear particles circulating in the oil. Combined with a low oil level, it is the strongest single signal to walk away from a used machine. Fresh oil in a machine that otherwise shows signs of heavy use is also a warning — it may indicate a recent oil change to conceal a problem, and warrants closer inspection of the gearbox casing for weld repairs or fresh paint over suspicious areas.
PTO universal joint inspection: The PTO driveshaft connects the tractor’s PTO output to the digger’s gearbox and typically has two universal joints (one at each end) and a slip joint (telescoping section for length adjustment). Grasp the shaft at each universal joint and attempt to move it in all planes — forward/back, left/right, up/down. A good joint has no perceptible play and moves smoothly in its design articulation plane. Any roughness, clicking, or lateral play at the joint indicates bearing wear in the cross-and-bearing assembly. The slip joint should slide smoothly with moderate manual force — a seized joint that cannot slide will create dangerous shock loading on the drive system when the machine enters the ground. If the slip joint is seized, treat it as a walk-away or a significant price deduction item. The PTO guard must be present and able to rotate freely around the shaft — a missing guard is a safety and regulatory issue that must be resolved before the machine is used on any public road or farm.
For new potato digger options with full warranty and known wear baseline, Korea Watanabe can provide specifications and pricing alongside the used market context described here.
Perguntas frequentes
▶Should I ask to see the machine work before buying, and what should I specifically observe during a working demonstration?
Always ask for a working demonstration if possible — a machine inspection at rest will not reveal problems that only appear under load. During the demonstration, stand behind and beside the machine (at a safe distance) and observe: (1) chain behaviour — does it run smoothly and uniformly across its full width, or does one section sag, chatter, or jump? (2) separator function — do tubers exit cleanly with minimal soil carry-over, or does the separator allow significant soil through? (3) sound — any irregular knock, rattle, or grinding from the gearbox, drive shaft, or chain drive under load is significant; (4) drive smoothness — does the PTO engage smoothly, or are there shudders or speed variations that indicate universal joint wear or drive imbalance? (5) depth control — does the digger maintain consistent share depth across the run, or does the depth wheel lift off the surface in places (indicating linkage control is in position rather than draft mode, or depth wheel bearing failure)? Take a video during the demonstration and review it after — details visible in slow playback often escape notice in real time.
▶How important is the machine’s history — specifically whether it was used on stony ground?
Machine history on stony ground is one of the most important background facts a used buyer can establish. A digger that has worked on clean sandy loam for five seasons will have experienced normal wear rates on chain, share, and elevator frame components. The same digger working on stony ground — even with regular maintenance — will have experienced significantly higher wear on share tips (stone contact = accelerated tip wear), chain rods (stone impact = direct rod abrasion and rod bending), gearbox (stone impact creates shock loading that stresses drive components), and elevator frame (cumulative stone impact causes microcracking in frame members over time). These differences are not always visible in the 12-point inspection but affect the machine’s remaining life significantly. Ask specifically: what soil type was the machine used on? Were stones a regular issue? Was the machine used with a rock crusher or stone picker in the same system (stone-cleared fields = lower digger wear)? If the seller cannot answer, treat the machine as if it had worked on stony ground and price any remaining life accordingly.
▶Is it possible to buy used and still get a warranty, and what warranty terms should I look for?
Some dealers selling approved used agricultural machinery offer limited warranties — typically covering major mechanical failure (gearbox, main drive components) for 3–6 months after purchase. These warranties are not universal and are offered at the dealer’s discretion; private sale used machinery comes with no warranty in virtually all jurisdictions. If a dealer offers a used warranty, read the exclusions carefully: most used agricultural machinery warranties exclude wear items (chain, share tips, rubber components) and any failure attributable to “normal wear and tear” — which can be interpreted very broadly. The practical value of a used warranty is in giving you a defined recourse period for catastrophic failures like gearbox or frame failure that were not detectable in the pre-purchase inspection. A warranty covering 3 months including one harvest season is meaningful; a 30-day post-purchase warranty that may not cover the harvest period is less useful. If a dealer cannot offer any warranty on a used machine, this should be factored into the price negotiation — the buyer is accepting all future risk from the moment of sale.
▶What is the typical depreciation pattern for a potato digger, and when does the value-to-condition ratio favour buying used?
Potato diggers tend to depreciate steeply in the first two to three seasons (as the new price premium dissipates and the machine enters its working phase) and then more slowly through mid-life (years 3–8 for a well-maintained machine) before declining again as major component replacement becomes more likely. The value-to-condition ratio typically favours buying used in the three-to-six-year window: the machine has passed through its steepest depreciation, is fully bedded in, has a track record visible in its wear pattern, and still has its primary components (chain, gearbox, frame) in serviceable condition with significant remaining life. A machine in this age range at a price reflecting 40–55% of its new equivalent, passing the 12-point inspection without major concerns, represents the sweet spot of the used market. Machines over 8–10 seasons old carry increasing risk of frame issues, gearbox seal failure, and unavailability of specific wear parts — the purchase should only be made at a price that reflects the genuine uncertainty about remaining life, not the physical size or working width of the machine alone.
▶Parts availability is important for a used machine — how do I check if the manufacturer still supplies spares for the model I’m considering?
Before committing to any used purchase, contact either the manufacturer directly or an established local dealer for the brand, and ask two specific questions: (1) Is the spare parts catalogue for this specific model and year still current, and can you order common wear items (chain, share tips, shear bolts, depth wheel bearings) from stock today? (2) Are replacement gearbox assemblies or major subassemblies still available for this model, either new or reconditioned? A machine whose manufacturer confirms current parts availability in both categories is a substantially safer purchase than one for which the dealer says “we’d need to check.” The most dangerous used purchase is a machine from a manufacturer who has exited the market, changed ownership, or discontinued the model line — where even routine wear parts may require fabrication or substitution with non-original components that may not match the design loads. Major brands with active service networks in your region are the safest used purchase in terms of parts longevity; niche brands or machines supplied through importers who have since stopped trading carry a higher parts-availability risk that should be explicitly assessed before purchase.
Comparing Used vs New Potato Digger?
Share your farm scale, soil type, and budget. Korea Watanabe can provide new potato digger specifications and pricing for a direct comparison against any used machine you are evaluating — giving you a complete basis for the purchase decision.
Coréia Watanabe Rock Crusher Tractor Co., Ltd.
Editor: Cxm