Panduan Operasi Musiman
Pre-Planting Preparation
Penanaman Kentang Musim Semi — Penyiapan Mesin dan Daftar Periksa
The four weeks before target planting date determine whether every machine in the system is correctly calibrated for this season’s seed lot, this season’s ridge geometry, and this season’s field conditions. Problems found in week one cost hours. Problems found on planting day cost weeks.
6–12°C
Soil temp at 10 cm
4 weeks
Preparation window
20 m
Calibration test pass
Request System Specification →
Spring planting is the narrowest operational window in the potato production year — bounded below by soil temperature (seed placed into soil below 6°C at 10 cm depth sits dormant while fungal pathogens attack it) and above by the calendar pressure of the growing season (every day of planting delay is a day subtracted from the harvest window at the other end of the season). Within this window, the farm’s entire production system — stone cleared, ridges formed, fertiliser placed, seed positioned — must be executed correctly in sequence. The machinery preparation work that happens in the four weeks before the tractor first enters the field in spring determines whether that sequence runs without interruption, or whether a worn cup belt, a miscalibrated applicator, or an unserviced chain stops it on the day it cannot be stopped.
This guide covers the three preparation disciplines that determine spring planting system readiness: the soil temperature and field condition assessment that governs when machinery can enter, the four-week machinery preparation countdown that works backward from target planting date, and the seed lot receiving inspection that must precede machine calibration. It concludes with a complete pre-planting checklist structured for the Korea Watanabe mesin kentang system from surface stone clearing through to planting completion.
The Soil Temperature Window — When the Field Is Ready, Not the Calendar
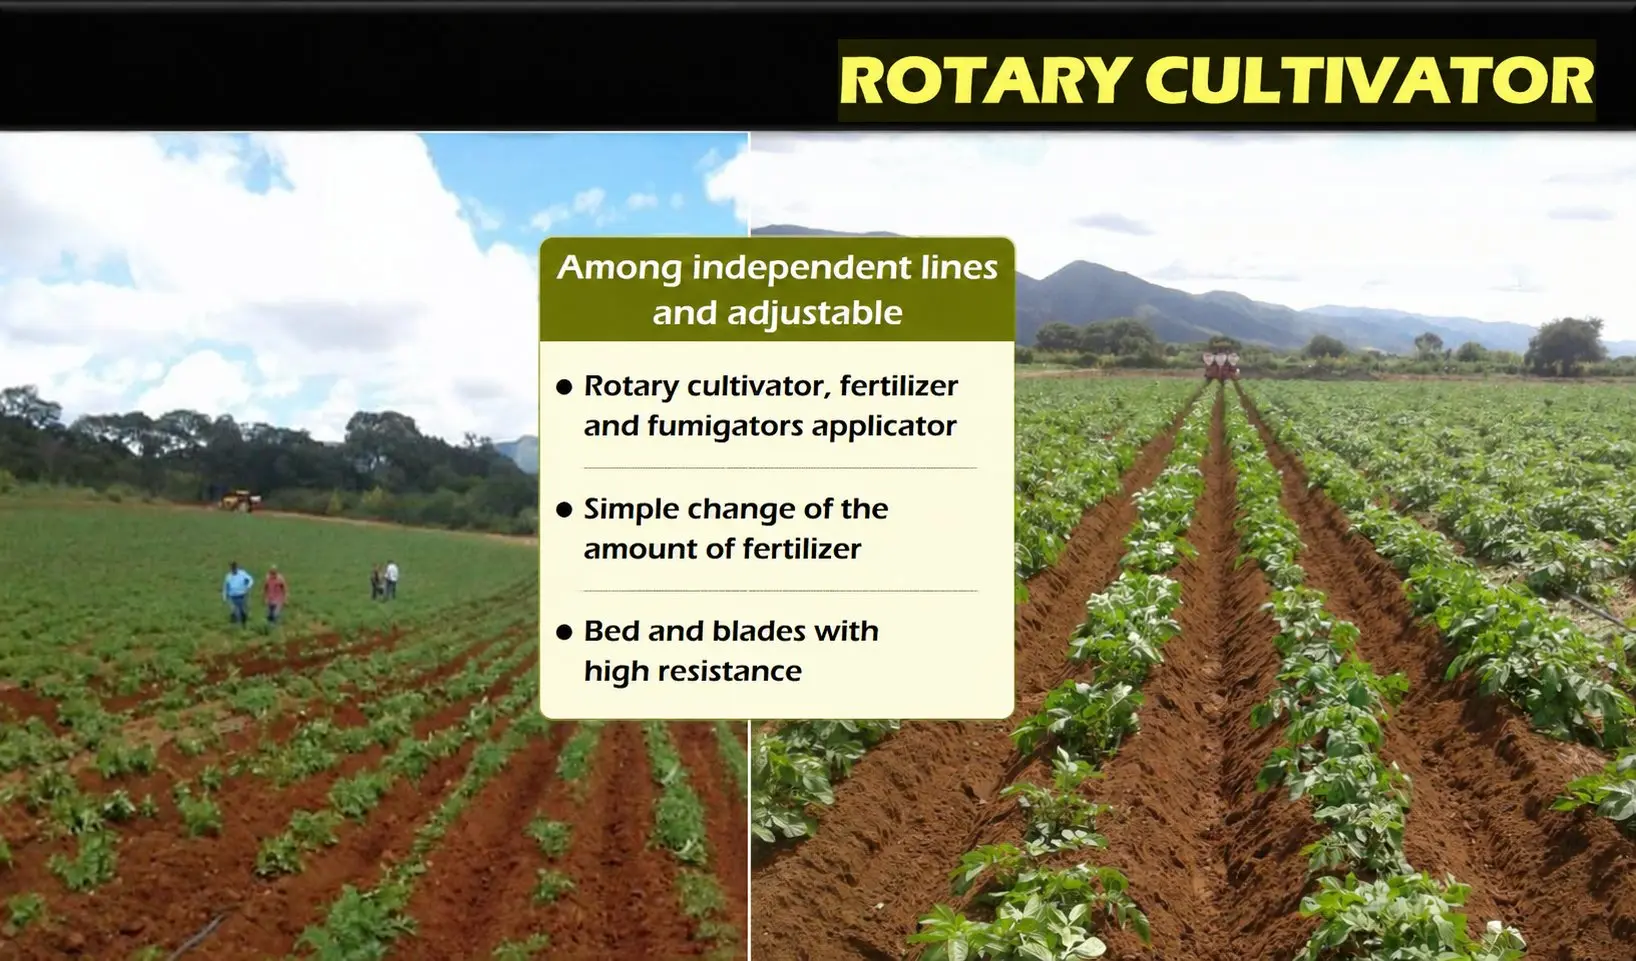
The single most important pre-planting field assessment is not a machinery check — it is a soil thermometer reading. Soil temperature at 10 cm depth is the variable that governs when the seed potato makes physiological contact with its growing environment, and planting outside the 6–12°C range at this depth creates problems that no machine setting or field management decision can fully correct later in the season.
Below 6°C — Fungal Risk Zone
Seed placed below 6°C sits physiologically dormant but provides an organic substrate for Rhizoctonia solani Dan Fusarium spp., which remain active at lower temperatures than the potato itself. Infection at this stage causes stem canker (black sclerotia on stolons), damping off of sprout tips before emergence, and underground stolon lesions that restrict tuber initiation. Delayed emergence from cold-planting is directly correlated with increased late-season Rhizoctonia severity, and the yield penalty from severe infection in high-risk soils can exceed 15%.
6–12°C — Optimum Planting Window
Within this range, the potato’s physiological activity (sprout elongation, stolon extension, early root development) begins earlier than fungal pathogen activity can significantly damage emerging tissue. Emergence is even, stem counts per plant are consistent with the seed lot’s chitting specification, and the canopy intercepts early-season radiation efficiently. At 8°C, emergence from chitted seed typically takes 18–22 days; at 12°C, 12–16 days. This 6–10 day difference compounds to yield differences of 3–8% in short growing season environments.
Above 15°C — Early Stolon Extension Risk
At soil temperatures above 15°C at planting depth, stolon extension accelerates before the main stem has sufficient canopy area to support photosynthate supply to the extending stolons. The result is elongated stolons with scattered tuber initiation positions — tubers initiated at multiple depths and lateral positions rather than in the compact cluster above the seed that digger shares are calibrated to recover cleanly. This is particularly significant for processing varieties (Russet Burbank, Shepody) where tuber shape specification is a pack house contract requirement.
Measurement Protocol
Measure soil temperature at 10 cm depth at 09:00 local time on three consecutive mornings — not at the warmest part of the afternoon. The three-morning average must exceed 6°C before commencing the final furrowing and planting operations. Single-day readings are insufficient in variable spring weather; the three-morning protocol ensures the soil has genuinely warmed through, not that a warm afternoon has temporarily elevated the near-surface layer.
The Four-Week Preparation Countdown — Working Back from Target Planting Date
Stone and Field Condition Assessment
Walk all fields scheduled for potato planting. Count stone per m² at five representative positions per field (two headlands, two mid-field positions, one natural drainage point). Record counts per field. If any field exceeds 5 stones/m² above 50 mm: schedule Burung hitam pass for Week 3. If sub-surface stone risk is present (history of digger incidents, or first year after winter without prior THOR clearing): assess whether THOR re-treatment is required before this season’s planting — if yes, schedule immediately at Week 4 as it takes priority over all other preparation.
Machine Inspection and Parts Procurement
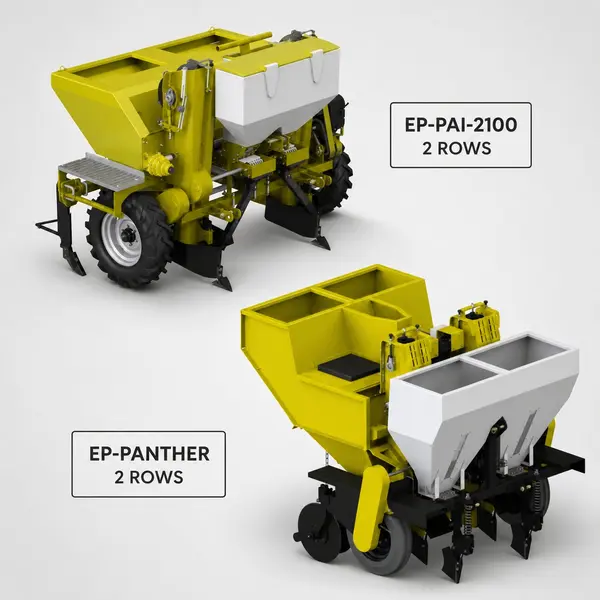
Remove all potato machinery from winter storage. Inspect each machine against the pre-season checklist below. Identify worn or damaged components and order replacements immediately — Week 3 provides the minimum lead time for standard parts orders to arrive before Week 1 calibration. Specific checks: planter cup belt for cracks and worn cup liners; furrower disc coulter edges for chipping; cultivator tine shanks for bending and tine tips for wear beyond the acceptable replacement threshold; fertiliser applicator metering wheel for lobe wear; digger share tips for depth below the replacement threshold. Order the season’s full share set at Week 3 even if current shares appear serviceable — mid-season share failure during peak harvest time is more costly than a spare set ordered in spring.
Seed Lot Receiving Inspection and Machine Pre-Setting
Seed lot arrives on farm. Complete the receiving inspection (see Section 3 below) before any machine calibration proceeds — machine settings depend on seed size and chit status. Once the seed lot is assessed and accepted: pre-set all machines to the nominal settings for this season’s seed size, row spacing, and target planting depth. Verify the planter cup size selection against the received seed’s grading range. Set the furrower row pitch and confirm it matches the planter and digger settings. Set the fertiliser applicator offset and metering rate to the agronomist’s recommendation for this field’s soil test results.
BlackBird Pass, Soil Temperature Monitoring and Final Calibration
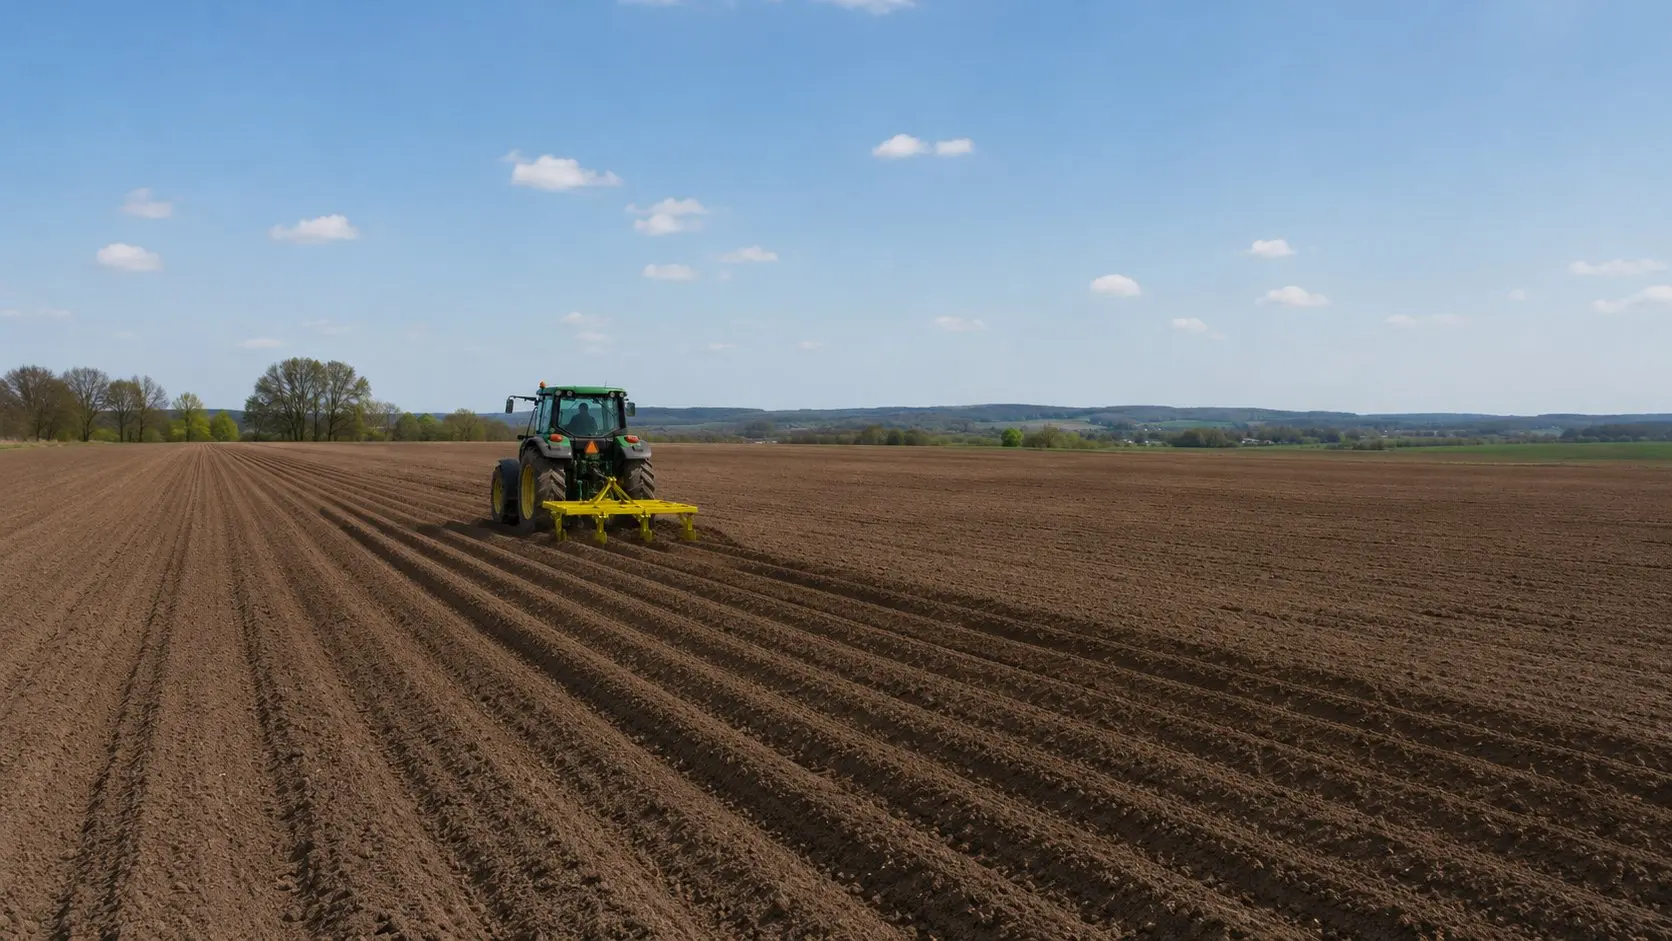
Begin three-morning soil temperature monitoring. Operate the BlackBird surface pass on all fields if not completed in Week 3. This final BlackBird pass provides the field surface condition for the cultivator, furrower, and planter to operate in — it must precede the first cultivator entry into the field. When soil temperature three-morning average exceeds 6°C and weather window opens: run the 20-metre calibration pass for the planter before committing to the first full field row. Verify miss-plant rate below 2% and double-plant rate below 1% before continuing.
Cultivate → Furrow → Apply → Plant — In Sequence
Final cultivator pass, furrowing, fertiliser application, and planting proceed in sequence. Record the ridge crown height from the first pass (headland, mid-field, opposite headland). Record the actual planting depth from the three-position excavation check after the first 30 metres. Record the date, field name, variety, seed lot number, and all machine settings. This record is the calibration input for the harvest digger operator at the end of the season.
Seed Lot Receiving Inspection — The Check That Precedes All Machine Calibration
Machine calibration is seed-dependent: the planter’s cup size and belt speed are set for the seed’s actual size range and chit status; the planting depth is set relative to the seed’s diameter plus the target depth-to-crown margin; the fertiliser applicator’s offset setting is referenced to the planting depth; the digger’s share setting at harvest is referenced to the planting depth recorded at planting. All of this depends on the seed lot that actually arrives on farm — which may differ in size distribution, chit status, and condition from what was ordered. The receiving inspection must happen before any machine is calibrated.
① Size Grading Verification
Sample 5 kg from three positions in the delivery (top, middle, base of pallet or bulk container). Hand-grade the 15 kg sample over the ordered grading screens. Calculate the percentage of seed outside the ordered size range. If off-grade proportion exceeds 10%: reject or negotiate; if 5–10%: accept with documented adjustment to cup size selection and calibration notes. If within 5%: accept and calibrate to the confirmed range.
Record: actual size range (mm) of accepted lot
This number determines cup size selection for the planter.
Inspect 20 tubers from the graded sample for sprouting status. Measure the longest sprout on each tuber. Record: dormant (0 mm sprouts), early chit (1–5 mm), established chit (5–15 mm, ideal), long chit (above 15 mm, handle with care). Established chits at 5–15 mm give the maximum early emergence benefit with manageable mechanism sensitivity; long chits above 15 mm require the most conservative belt speed reduction and are the most vulnerable to agitator damage in the planter hopper.
Record: chit length range (mm) and sprouting category
This determines belt speed reduction (0%, −20%, or −30%) for the planter.
③ Disease and Physical Inspection
Inspect 20 tubers for: (a) Skin lesions — raised corky scab (Streptomyces scabies), sunken soft rot lesions (Erwinia/Pectobacterium), or grey-brown surface mycelium (Rhizoctonia sclerotia — “black scurf”). Above 5% affected tubers in the sample is a significant disease risk for disease spread in the soil through the planted lot. (b) Physical damage — bruising, cracking, cut damage from previous handling, freeze damage (waterlogged soft tissue below the skin). These damage types are entry points for soft rot pathogens during the dormant phase before emergence. Report significant disease findings to the seed supplier and the farm’s agronomist before planting.
Record: disease incidence % and physical damage %
Determines seed treatment requirement before planting.
④ Weight and Lot Verification
Weigh three 10-tuber samples and calculate average tuber weight. Use this to estimate seed rate per hectare at the target in-row spacing: seed rate (kg/ha) = (10,000 m² ÷ (row spacing m × in-row spacing m)) × average tuber weight (kg). Compare calculated seed requirement against the invoice quantity to confirm delivery is sufficient for the planned area. A seed lot that is 8–12% short of the calculated requirement for the planned area will require either replanning the planting area or accepting gaps in coverage — both are easier to manage before the tractor has entered the field.
Record: average tuber weight (g), calculated seed rate (kg/ha)
Confirms sufficiency of delivery before planting begins.
Complete Spring Planting Machinery Checklist
□Field stone assessment completed — count per m² recorded for all potato fields
□THOR sub-surface clearing scheduled or confirmed not required (document basis)
□CT-2100 surface collection completed post-THOR where applicable
□BlackBird pre-planting surface pass completed — within 7 days of first cultivator entry
□BlackBird season maintenance schedule confirmed for pre-harvest pass timing
B
Pengolah Tanah Putar
□All tines inspected — tips worn beyond 20% reduction in length replaced
□Tine flange bolts checked for tightness — all to manufacturer torque specification
□Gearbox oil level and seals checked — no evidence of weeping at shaft seals
□Working depth set to 18–25 cm for seedbed preparation (confirm against this field’s cultivation depth record)
□PTO shaft guards intact and locking collars secure
C
Potato Furrower and Fertiliser Applicator
□Furrower row pitch set to this season’s target (750 / 850 / 900 mm) — confirm matches planter and digger settings
□Disc coulter edges inspected — severe chipping or flat spots require disc replacement
□All disc hub grease nipples greased to full — disc bearing lubrication is the most commonly neglected furrower maintenance item
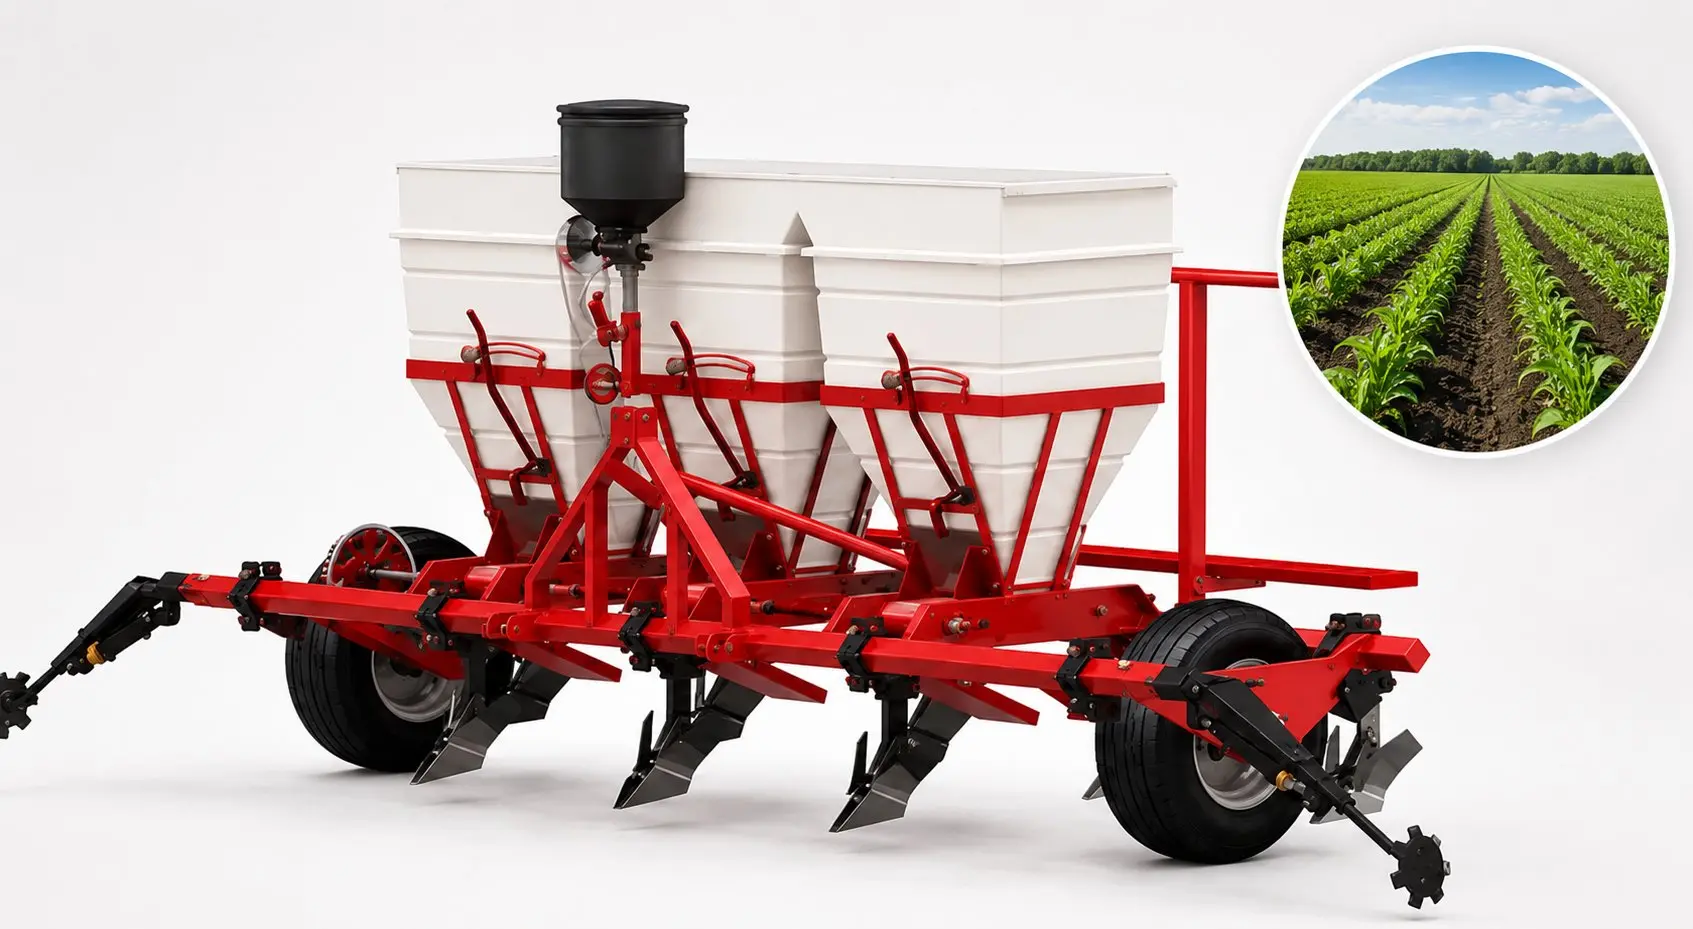
□Applicator metering wheel lobes inspected — replace if lobe profile worn more than 15% below original dimension
□Applicator calibration verified: collect 60-second output at operating speed into tray, weigh, compare to target rate — adjust if deviation exceeds 5%
□Ridge crown height measured and recorded after first furrowed pass
D
Penanam Kentang
□Cup belt inspected — all cups checked for cracks, worn lining depth, missing cups; replace belt as set if any cup is failed
□Cup size matched to received seed lot’s confirmed size range (see receiving inspection record)
□Belt drive chain elongation checked — replace if 12-link sample measures more than 2% above nominal pitch
□Press wheel bearings free-rolling without lateral play
□Depth gauge wheel set to target planting depth — verified by 3-position post-planting excavation in first 30 m
□20-metre calibration pass completed — miss-plant below 2%, double-plant below 1% before field entry
Pertanyaan yang Sering Diajukan
Q
How many working days before target planting should the pre-planting BlackBird surface pass be scheduled, and what if wet weather prevents it?
The BlackBird pre-planting pass should be completed within 14 days of the first planned cultivator entry into the field — specifically, after the spring thaw cycle has completed (final frost risk is past) but before the cultivator creates the seedbed. The 14-day window is the minimum that allows any frost-heaved material surfaced after the BlackBird pass to be identified and addressed before the first cultivator pass buries it at depth. If wet weather prevents field access for the BlackBird pass during the 14-day window, the priority order is: (1) if the field was assessed as clean at Week 4 (below 3 stones/m² above 50 mm) and has low frost heave history, proceed directly to cultivation without the BlackBird pass and accept the elevated surface stone risk; (2) if the field has a known stone risk or high frost heave rate, delay the cultivator entry until a dry window allows the BlackBird pass to be completed first — the few days of delay are less costly than the share damage from proceeding on uncleaned stone. The BlackBird pass itself requires a firm enough field surface that the machine’s transport wheels do not create significant ruts in the topsoil — the same field entry threshold that applies to the first cultivator pass generally also applies to the BlackBird.
Q
Soil temperature at 10 cm is 5°C on the planned planting date. Is it worth waiting, or should planting proceed at lower temperature to protect the growing season calendar?
At 5°C (one degree below the 6°C threshold), the practical decision depends on the variety and seed condition. For dormant seed of varieties with known Rhizoctonia tolerance (some Maris Piper selections, Markies, Melody): a 1–2 day delay is unlikely to have a significant calendar impact and reduces the fungal risk window. For chitted seed: the decision is more complex — chitted seed sitting in storage after its intended planting date continues to develop sprout length at the storage temperature; if storage is also cold (3–5°C), the risk of sprout elongation beyond the ideal 15 mm range before planting may justify accepting the slightly cold soil temperature rather than allowing the chits to over-extend. The governing principle: do not plant into soil below 4°C at 10 cm under any circumstances — this temperature zone represents certain fungal damage on any variety. Between 4°C and 6°C: apply the seed condition judgment described above. Above 6°C: proceed without reservation. A soil thermometer monitoring log across the four days before planting typically shows a consistent upward trend in spring — if 5°C on Monday, Tuesday may well be 7°C, making a one-day wait the pragmatic choice in most years.
Q
Multiple fields have different stone histories and soil types. Should the machinery be re-calibrated between each field, or is one spring calibration sufficient for the whole farm?
The calibration requirement varies by machine and field change. The planter’s belt speed and cup size calibration is seed-lot-specific rather than field-specific: if the same seed lot is planted across all fields, the planter calibration set against that lot does not need repeating at each field unless a significant difference in soil condition changes the forward speed (which would change the effective belt-to-ground speed ratio). However, the planter’s depth gauge wheel setting may need adjustment between fields if one field has a significantly different ridge crown height from the previous field — this is why recording the furrowed ridge crown height per field is essential. The furrower’s row pitch and working depth settings are constant across fields with the same row spacing specification; they change only if the field’s target row spacing changes. The cultivator’s working depth may need adjustment on fields with significantly different soil type or previous cultivation depth history. The fertiliser applicator’s rate calibration is field-specific — different fields with different soil test results may have different application rate targets; re-verify the metering rate calibration whenever the target rate changes. The key discipline: re-check the calibration at the start of each new field using the 5-position dig-check for depth and the visual check for spacing — these take 15 minutes and catch any drift from the previous field’s conditions.
Q
Can the spring machinery setup sequence be compressed to two weeks instead of four if planting conditions arrive earlier than forecast?
The four-week preparation window can be compressed to two weeks in warmer-than-forecast springs, but the compression requires parallel execution of steps that are normally sequential — and creates specific risks that the four-week sequence is designed to avoid. The critical bottleneck in a two-week schedule is parts procurement: a planter cup belt that is found defective at Week 2 in a four-week sequence is resolved before planting; a belt found defective in a two-week sequence may not be replaced before Day 0 if the supplier’s delivery time exceeds the available window. The compression protocol: (1) Move the machine inspection to immediately — same day as the forecast revision, before the field assessment. (2) Order all identified consumables on express delivery terms — the premium cost is justified against the cost of planting delay. (3) Run the seed receiving inspection and machine pre-setting in parallel on the same day the seed arrives. (4) Accept that any parts order that cannot be resolved within the compressed timeline will require a machine repair delay on planting day — plan an alternative use of planting day capacity while the repair is completed. The four-week schedule’s primary function is to distribute the risk of parts delivery failure across a window large enough to absorb a typical supplier lead time without reaching planting day without the necessary replacements.
Q
What should be recorded in the planting day logbook, and how is that record used at harvest?
The planting day logbook entry should capture six specific data points per field: (1) date and time of planting; (2) field name and area planted; (3) variety and seed lot number; (4) furrowed ridge crown height in mm — measured at headland, mid-field, opposite headland, averaged; (5) confirmed planting depth in mm from crown surface — from the 3-position excavation check after the first 30-metre pass; (6) in-row spacing in mm as set and verified on the planter. The harvest connection: the digger operator’s share depth setting formula is (average crown height) + (planting depth from crown) + 30 mm clearance = total share depth from the inter-ridge furrow floor. This is a direct arithmetic translation of the planting logbook into the harvest setup — and the reason why the logbook is not a bureaucratic formality but a functional calibration document that, six months later, is the harvest operator’s most important source of field-specific information. Farms that do not maintain this record require the harvest operator to set the digger by trial-and-error excavation at harvest — which wastes time and, in the first pass of each field, leaves some tubers in the ground until the depth is found empirically.
Mesin Kentang Watanabe Korea
Spring Planting Readiness — Machine Preparation Support for Your System
Korea Watanabe provides pre-season machinery preparation checklists, parts availability confirmation, and calibration support for all machines in the mesin kentang range — from the BlackBird spring surface pass through to planter cup belt selection for this season’s seed lot.
Korea Watanabe Rock Crusher Tractor Co., Ltd. · Ansan-si, Gyeonggi-do
Editor: Cxm